

Animating My Kids' Favourite Picture Book in First Person With AI
.webp)
ON THIS PAGE
Subscribe To Get Weekly Family AI Discoveries
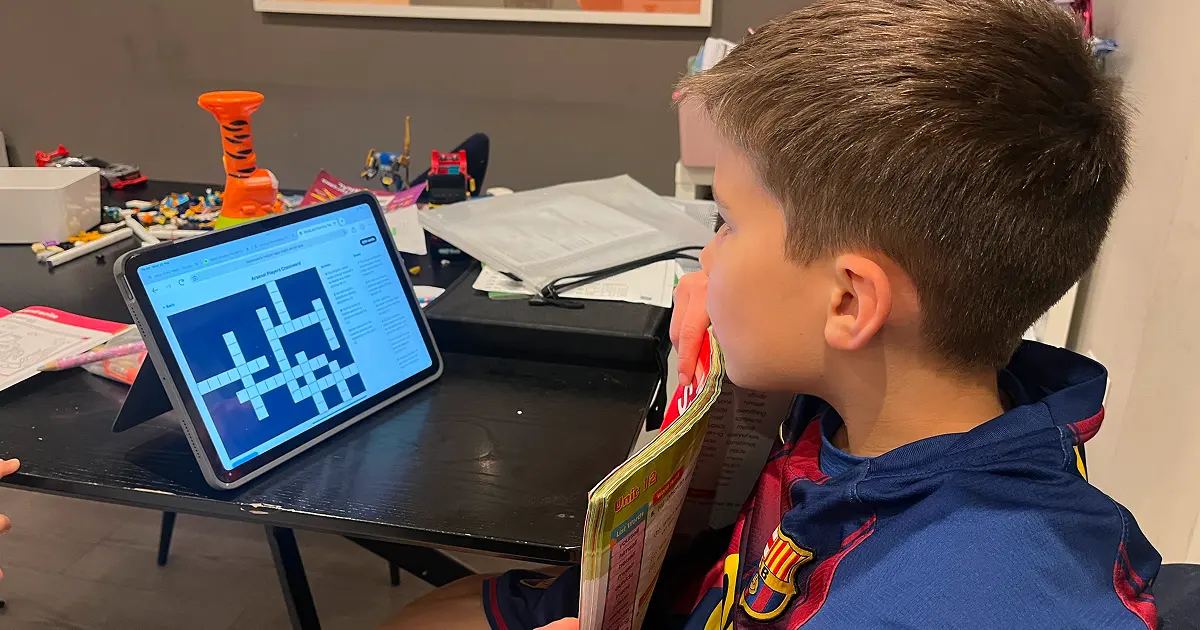
My three year old and my six year old have a favourite picture book at the moment. It's one of Julia Donaldson's, and they ask for it every night before bed.
A few weeks ago my six year old started asking what the main character was thinking at different points in the story. The book is told in third person, so we never quite get inside his head. She wanted to know how he felt during the scariest moments, and what he was thinking when things finally worked out. That gave me an idea. What if I rebuilt the whole story from the character's point of view, as a short animated film?
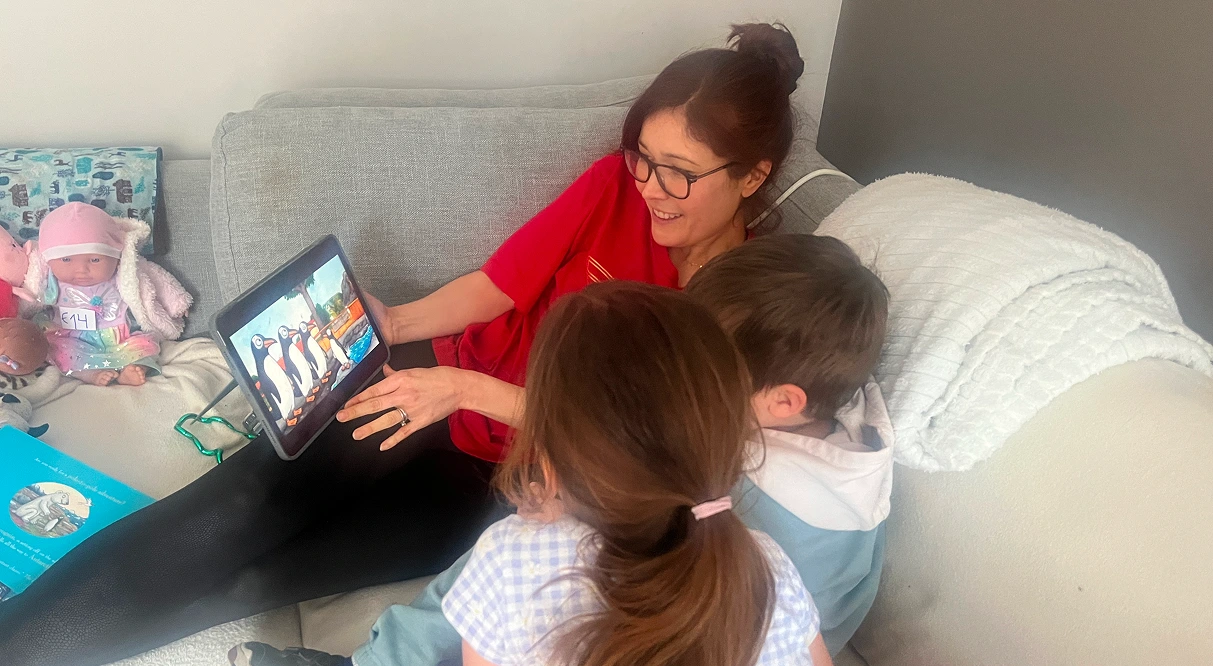
I spent a a few days doing exactly that. The result is a 1 minute 48 second first-person animation with my own narration. The kids watched it on the iPad with my wife, and they immediately asked to watch it again.
This guide is the full process. Tools, mistakes, time, and what I'd change next time.
Quick overview
- Time: 8-9 hours across 2-3 evenings (first attempt with Grok Imagine)
- Cost: Free if you use SuperGrok's 3-day trial. $30/month after that. Nano Banana is free in the Gemini app.
- Difficulty: Intermediate. Four tools in one workflow.
- Age range: Any age. Parent does the work, kids are the audience.
- Key learning: Generate clean source frames first, then animate them. Don't try to text-to-video your way through a story.
- What you'll create: A 1-2 minute first-person animated film of any picture book, narrated in your own voice.
What you'll need
Tools
- Nano Banana 2 for source frame generation. Free in the Gemini app, 20 images per day.
- Grok Imagine for image-to-video animation. SuperGrok is $30/month. There's a 3-day free trial that gives you generous limits.
- Claude for script structure and writing the per-scene motion prompts. Free tier works fine for this.
- CapCut for stitching the clips, layering audio, and handling transitions. Free, with one paid feature you'll want (audio extraction).
- iPhone Voice Memos for recording your narration. Built-in, free.
Your child's input
- Which book to animate. Pick something they know inside out.
- What they want to hear from the character's perspective. Ask them which scenes they're most curious about.
Parent skills
- Comfortable writing prompts and iterating on them.
- Basic CapCut editing (drag clips, layer audio, trim).
- Willingness to record your own voice. This matters more than you think.
Not sure which tool is right for your child?
Take our free 2-minute quiz and get personalized AI tool recommendations based on your child's age and interests.
Step-by-step process
The full pipeline is: plan the scenes with your kids, write the first-person script, generate a source frame for each scene in Nano Banana, animate each frame in Grok Imagine, record your narration, stitch everything in CapCut. Plan for the work to take longer than you think on your first attempt.
Step 1: Plan the scenes with your kids
Sit down with the book and your kids. Ask them which moments they want to hear from the character's perspective. Write the list down. I ended up with 19 scenes for a story that runs about 30 pages. Each scene becomes one short video clip later, so 19 scenes at 6 seconds each gives you roughly two minutes of finished video.
💡 Parent Insight: Let your kids drive the scene selection. They'll pick the moments that mattered to them, which is usually different from the moments an adult would pick.
Step 2: Write the first-person script with Claude
This is where Claude earned its keep. I gave Claude my scene list and asked it to write a first-person internal monologue for the character at each beat, in plain present-tense prose. The constraint I set: each scene's narration had to fit inside 18 words, so it could be read at a gentle 180 words per minute over a 6-second clip.
My approach:
I gave Claude the 19 scenes, the word budget per scene, the voice direction (curious, slightly brave, tender at the end), and asked it to draft a full script I could read aloud. We iterated on the tone for the funny parts and the emotional beats separately.
Result: A 315-word script, broken into four parts so I could record one part at a time without losing my voice. Total estimated read time was about 105 seconds, leaving room for each clip to breathe.
If you'd like to know more about how Claude compares to other AI tools for parent and family use, I've written a longer comparison: ChatGPT vs Claude for kids.
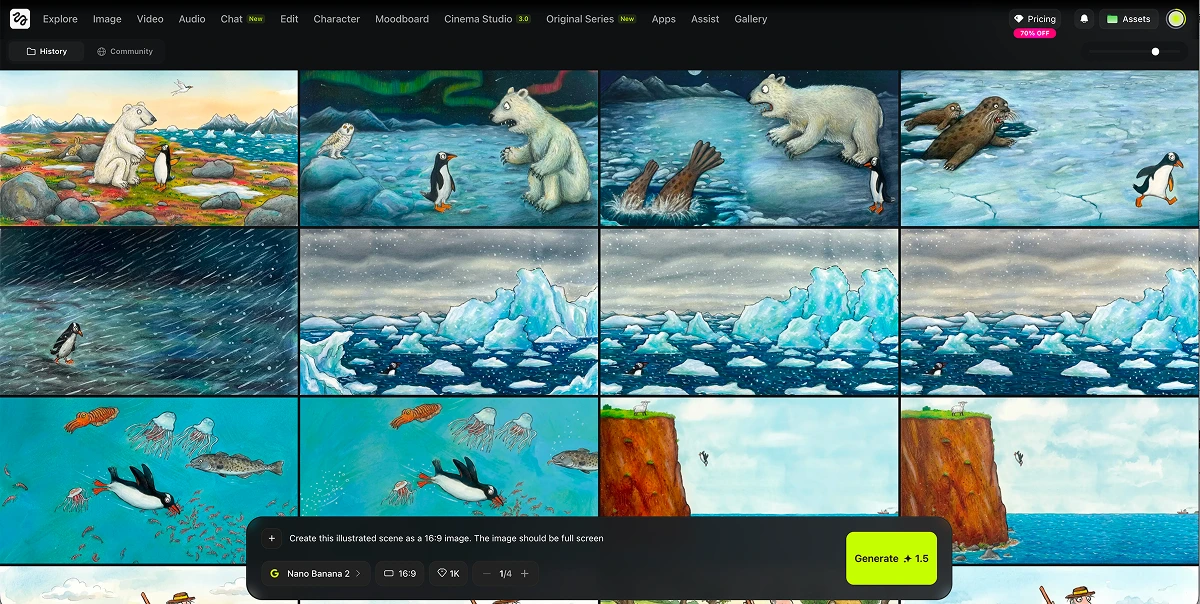
Step 3: Generate source frames in Nano Banana
For each of the 19 scenes I generated a single still image in Nano Banana. The trick is to generate two or three versions of each scene and pick the best one. Don't settle on the first generation. Look for clean compositions, clear subjects, and a consistent art style across scenes.
💡 Parent Insight: Character consistency is the hardest part. For an animated illustrated style you can get away with the character looking slightly different from scene to scene. For realistic photo style, you can't. Pick illustrated.
Nano Banana is free in the Gemini app on a standard Google account, with 20 generations per day. I used it across two evenings to build the full set of frames. We have a few other family projects built on Nano Banana you might find useful: our cinematic Nemo short film and restoring grandparents' wedding photos.
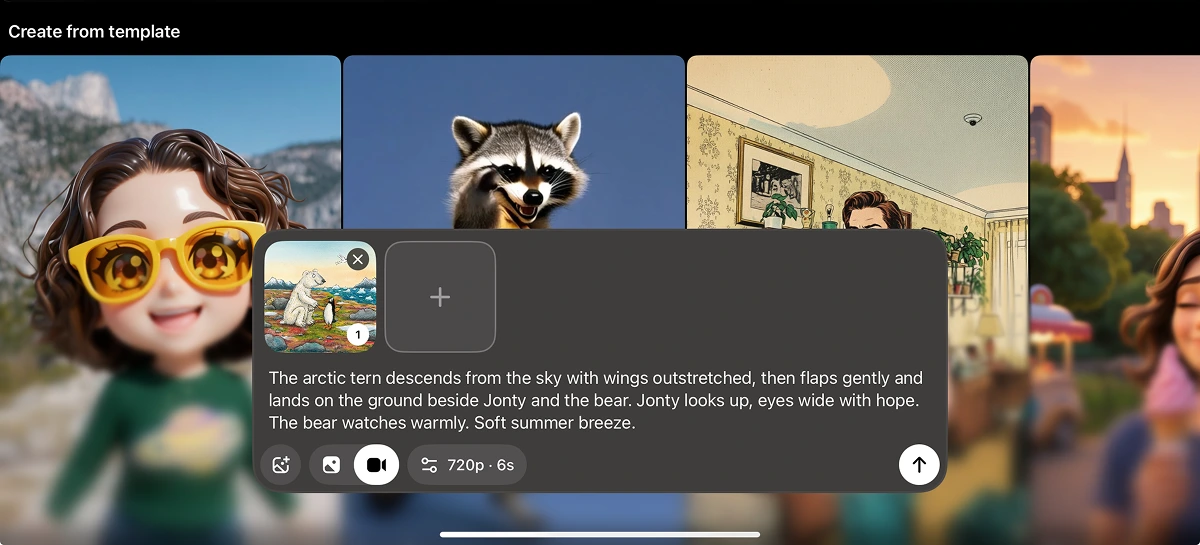
Step 4: Animate each frame in Grok Imagine
This is the core of the project. Upload each Nano Banana frame to Grok Imagine, write a short prompt describing the motion you want, and generate a 6 or 10 second clip. I used 6 second clips for simple reaction shots and 10 seconds for scenes with more action. Sometimes I picked 10 seconds just to give myself extra footage to trim down in editing.
My approach:
I asked Claude to write the motion prompt for each scene based on the script line and the visual. Things like "the character walks slowly to the right and looks up" or "snow falls heavily, character trudges forward with head down." Specific motion direction beats vague prompts every time.
Result: About 2-3 generations per scene to land on one I liked. The first attempt worked maybe one time in five. Knowing I was on the SuperGrok free trial with no token cap made me more generous with regenerations than I'd normally be.
💡 Parent Insight: Subtle motion is better than dramatic motion. Grok can over-animate. Pan, drift, and character breathing usually beat big movements that distort the character's face.
Step 5: Record your narration
Before recording my own voice I tried ElevenLabs first. Their library is enormous and I spent half an hour searching for a young boy's voice that fit. I generated a full version with the best match I could find. It was technically perfect, and emotionally flat. The kids needed to hear someone they trusted, not a stranger.
So I climbed under the duvet with my iPhone and Voice Memos. Reading from a duvet absorbs room reflections and gives you a surprisingly clean recording. I read the whole script through once for warm-up, then recorded the four parts back to back.
Step 6: Stitch in CapCut
Open a new 16:9 project in CapCut. Import the 19 video clips and the four narration files. Lay the narration on the audio track first. Then drop the video clips above the narration in story order. Trim each clip so the visual cut lands at the start of the next narration line.
For transitions, use a 0.3 second crossfade between clips inside the same part. Use clean hard cuts between parts. Add a quiet orchestral track at 10-15% volume under the narration. Apply the same colour filter across all 19 clips to unify the look. Export 1080p MP4 and AirDrop to the iPad.
Step 7: Show the kids
This is the only step that matters. Sit them down on the sofa. Press play. Watch them, not the screen.
Why this approach works
The first-person POV shift is the part that turns this from "AI version of a book" into something genuinely new. The book is the source material. The internal monologue is the transformation. Your kids hear the same story, but from inside the character's head. That's an interpretation, not a copy.
It's also the right transformation for kids of this age. A three year old and a six year old don't need a richer plot. They need a deeper emotional connection to a character they already love. Hearing what the character is thinking at the scariest moment is more powerful than any new visual.
A note on copyright. This was made as a personal family keepsake, not for distribution. The narration is my own original prose. The visuals are in a generic illustrated style, not mimicking any specific illustrator. If you make one of these, treat it the same way. Watch it with your kids, not with the internet. Buy the original book. It deserves your money.
Tips and tricks
Before you start:
- Pick a book your kids know inside out. Familiarity is what makes the POV shift land.
- Plan your scenes on paper before you touch any tool. Going straight to image generation is the fastest way to waste an evening.
- Block out a weekend, not an evening. First attempt is closer to 8 hours than 2.
During the process:
- Generate 2-3 Nano Banana versions per scene. The first one is rarely the best.
- Write your Grok motion prompts in Claude first. Specific verbs ("walks slowly", "tilts head up") beat generic descriptions every time.
- Use 10 second clips when you're not sure how much footage you need. You can trim. You can't extend.
- Strip the ums and pauses out of your narration in CapCut as you go, not at the end. CapCut has a one-click feature for this.
What I'd do differently:
- Build a character reference sheet in Nano Banana before generating any scenes. Use it as a reference image for every scene to keep the character consistent.
- Record narration last, not in the middle. Hearing the timing against the actual video makes pacing decisions easier.
- Don't trust Grok's auto-generated background music. Strip it out and add your own track in CapCut.
Common issues and solutions
Problem: The character looks slightly different from scene to scene.
Solution: Generate one strong reference image of your character first. Upload it as a reference for every subsequent Nano Banana scene generation. For animated illustrated styles you can tolerate some drift. For realistic styles you can't, and you'll need to be much stricter.
Problem: Grok adds different background music to every clip and the audio jars between scenes.
Solution: In CapCut, extract the audio from the clip whose music you like best (this is a paid feature). Apply that same audio across the adjacent scenes to create continuity. Or strip Grok's audio entirely and lay your own quiet track underneath.
Problem: The transition between two scenes feels disconnected, like the camera jumped to a different world.
Solution: Regenerate the second scene in Nano Banana using the first scene as a reference image. This pulls the colour palette, lighting, and composition closer together so the cut feels natural.
Problem: A specific narration line isn't landing the way you wanted.
Solution: Re-record just that line under the duvet, import the new file, mute the old line on the audio track, and drop the new one into place. You don't need to re-record the whole part.
Problem: ElevenLabs voices feel emotionally flat for storytelling.
Solution: Use your own voice. Your kids will recognise it instantly and it adds an emotional layer no AI voice can match. The duvet trick (recording with your phone under bedsheets) gets you a surprisingly clean sound for free.
Problem: Grok Imagine over-animates and distorts your character's face.
Solution: Rewrite the motion prompt with more conservative direction. Ask for subtle drift, gentle breathing, or environmental motion (water, snow, clouds) instead of asking the character to move dramatically.